As we continue getting started, and as you continue working in and becoming more familiar with your account, you’ll see that you have a lot of customization options. For now, we’ll just stick to the basics.
- Step 1: Set Up Your Account for Success
- Step 2: Put Tap Inspect Jobs to Work for You
- Step 3: Record Your Inspection Observations
- Step 4: Review and Share Your Results
This is the fourth and final step to getting started with Tap Inspect. In this step, you’ll learn how to review and share your results so you can get on to the next job.
Verify Job Details
If you followed the best practices described in Put Tap Inspect Jobs to Work for You, you have the full inspection address, inspection date, and the people involved in the job along with at least their email address already on the Schedule tab.
If you didn't add these when you scheduled the job this when it really makes a difference. Before you can share the results, you need to update all that information NOW. It's just one more step you can avoid by doing it when you scheduled the job.
Proofread Your Comments
Let's go to the Inspect tab of your Demo Dan job to review the observations. By taking a quick glance down the section list you can see if there are any red circles showing incomplte items. If you see any drill down into that section and record that information. When all the red circles are gone you know every inspection checklist item has been completed.
The next step is to proofread your comments to make sure that they're correct and ready to share. The gray circle in each section indicates how many comments are in that section but it is pretty painful to drill down into each one tapping back and forth to manually review and proofread each one.
Instead, tap View all Report Comments at the top of the section list. A special screen pops up listing all the comments in this report in one place. This makes it incredibly easy to proofread them all. One by one.
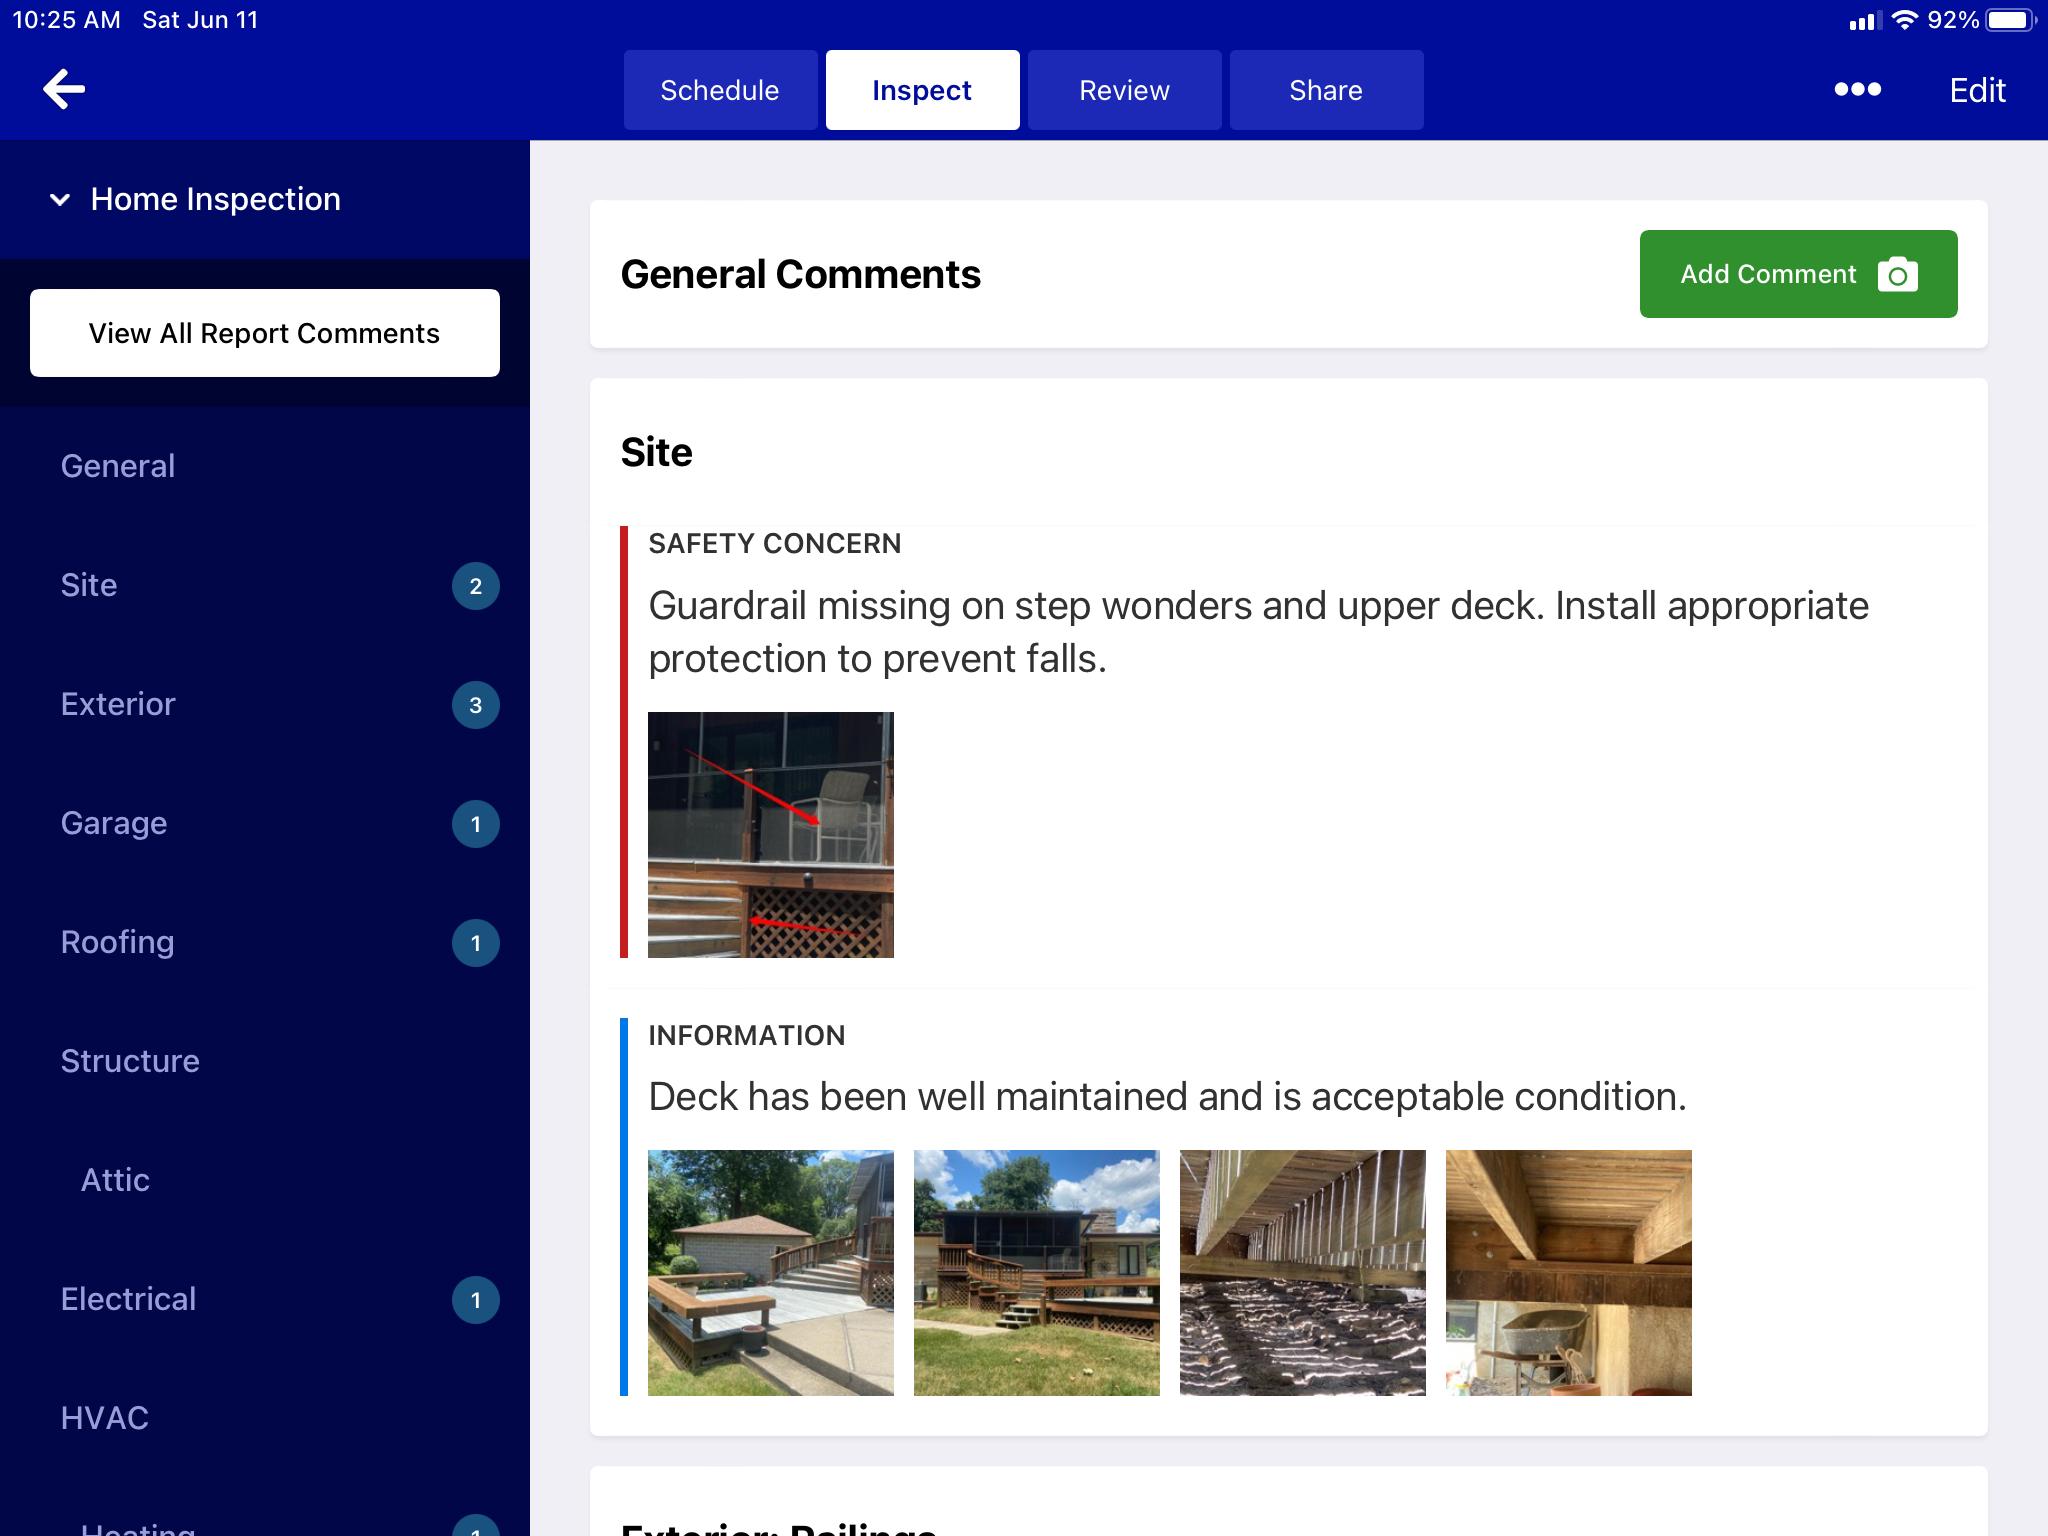
Scroll through View All Report Comments and pay attention to the Plumbing: Waste Pipe Material comment. There are some typos that could easily confuse the reader.
You can edit any comment from the View All Report Comments just like we described in Record Your Inspection Observations. Make the edits and save the comment before moving on.
Review Web Report
Now that you know that the inspection checklist complet and you have proofread all of your comments we are ready to review the actual report your client is going to see.
Tap the Review tab in your Demo Dan job to open the client portal. This is what your client and anyone else you invite to view the results will see. Keep in mind that the mobile app has a pared down version so you can review even while not connected to the internet. To see the actual client portal others will see you will want to view it from the job in your web account.
You should see your company and user profile information we talked about in Set Up Your Account for Success. Having them gives the Client Portal a very professional look. If you skipped setting them up the client portal will look pretty sparse.
Tap on the photo of the house to open the web reports and take some getting to know your way around the web report.
You can scroll and view the report just like your client or anyone else you've invited. Take a minute to review the Report Summary to see how it works. Tap on a photo or two. Take the time to explore to help understand your clients' experience when they view the results.
When you're all satisfied tap share the to start the Sharing process.
Share the Results
Tap the Share tab of your Demo Dan job and you will see each person that has permission to receive report listed. This is why it’s a best practice to include at least an email address when you add the Person to the job. It's already filled in and ready to use when it’s time to share your results. Otherwise you will need to add it now or no invitation will be sent to them.
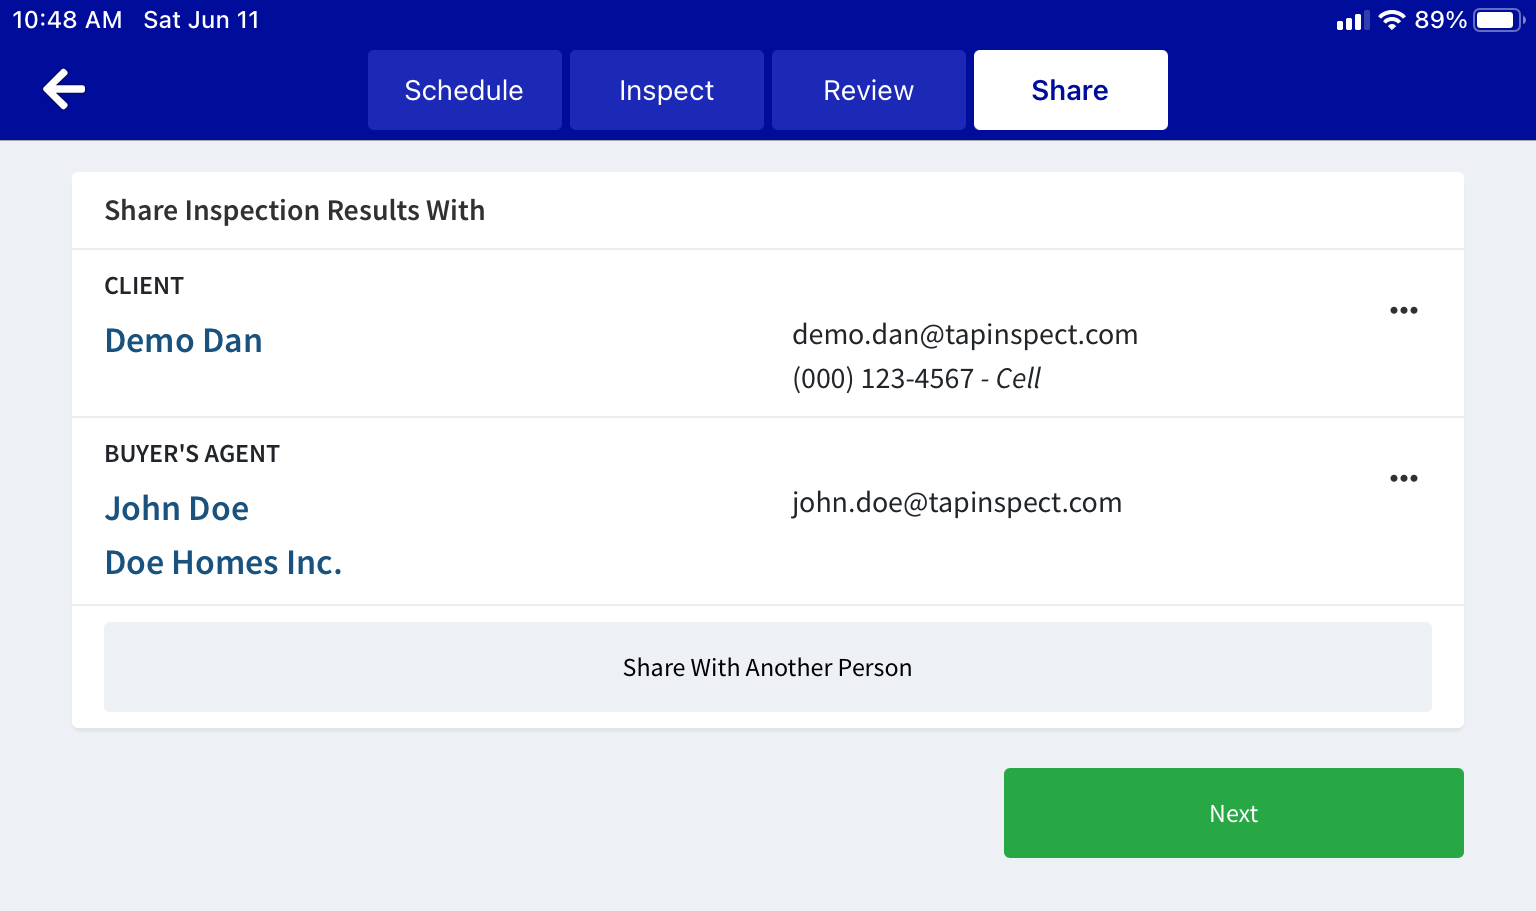
If for some reason you did not add an email address, or the client needs to update the address they gave you when they scheduled, you can use the action button next to the person on the Share tab and then edit the person just like on the Schedule tab.
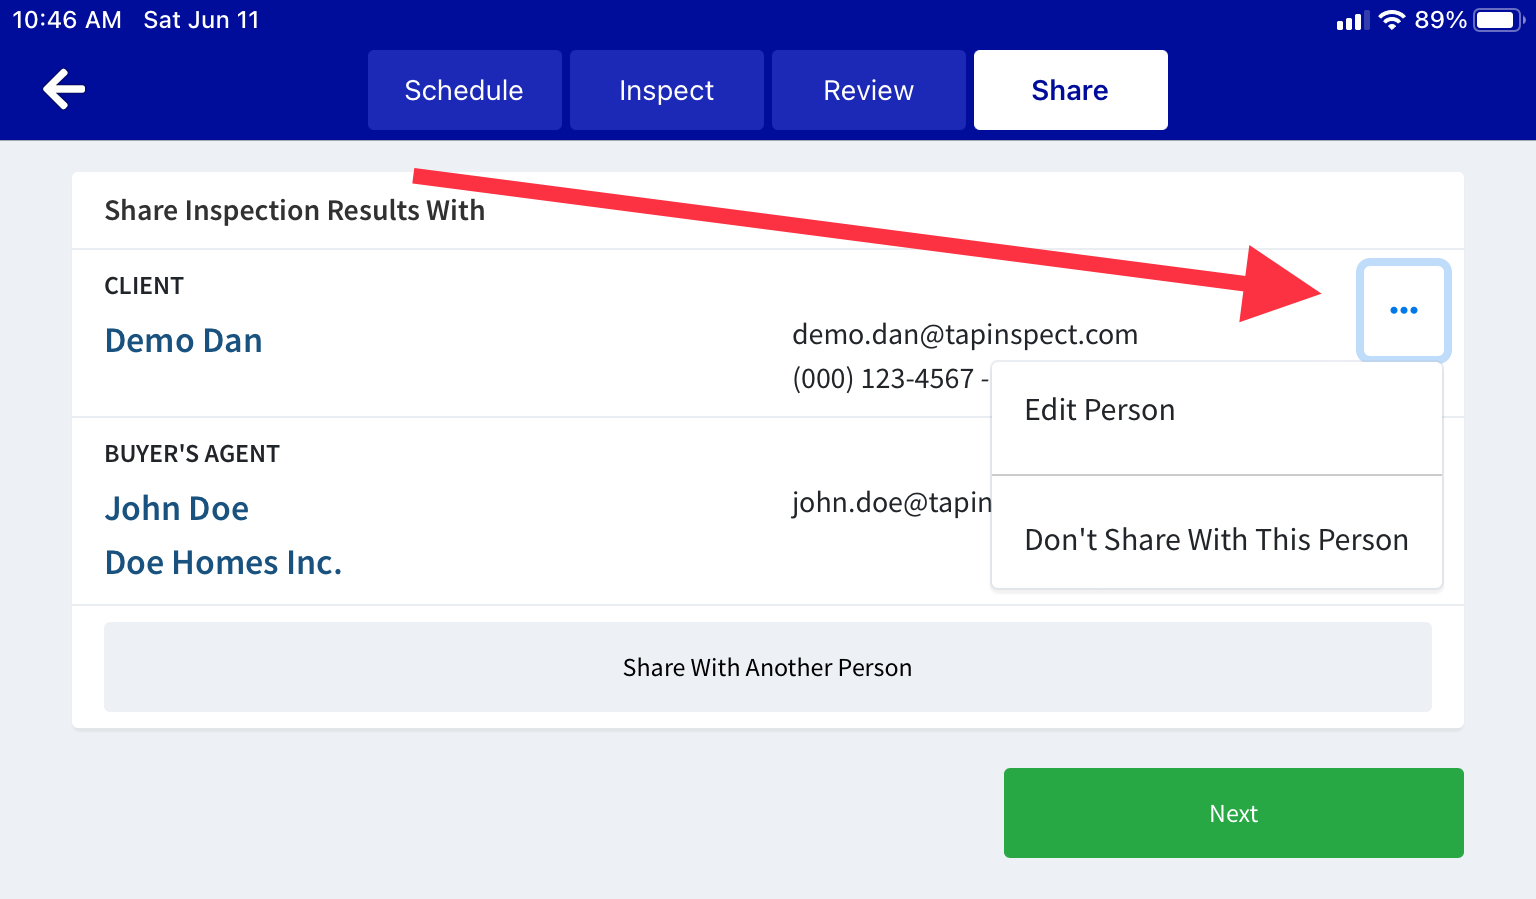
You are not required to share your results with every person listed. Use the action button next to the person and Don't Share With This Person if desired.
You can add another person here to share the results with if needed. But be careful. The best practice is to add all the people involved on the Schedule tab so you can tell who is who later on. When you've got the people all squared tap Next.
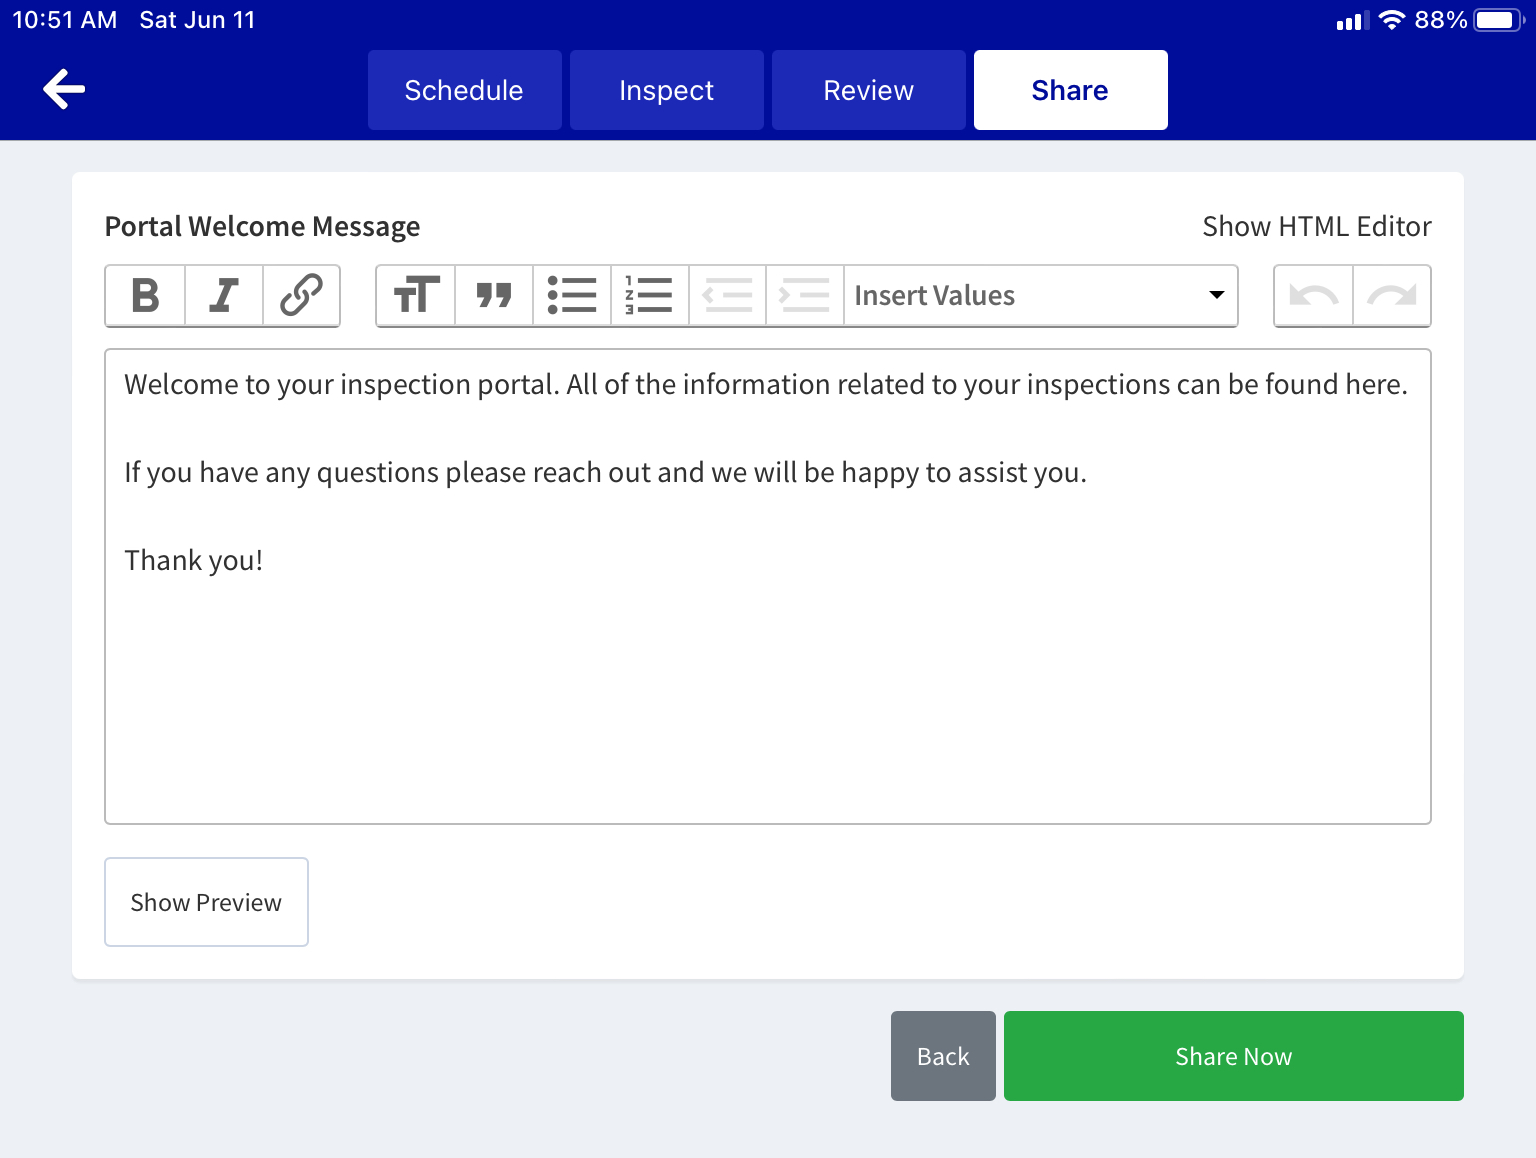
You can customize the Portal Welcome Message. This message is displayed at the top of the Client Portal as a way to personalize it for a particular job. Keep in mind this is not this sharing email message. This is a message on the Client Portal web page. You can make a change here and it only affects this job.
When you're all set tap Share Now. The Tap Inspect servers will send invitation emails to everyone you've shared with letting them know the inspection results with a personal link to the client portal.
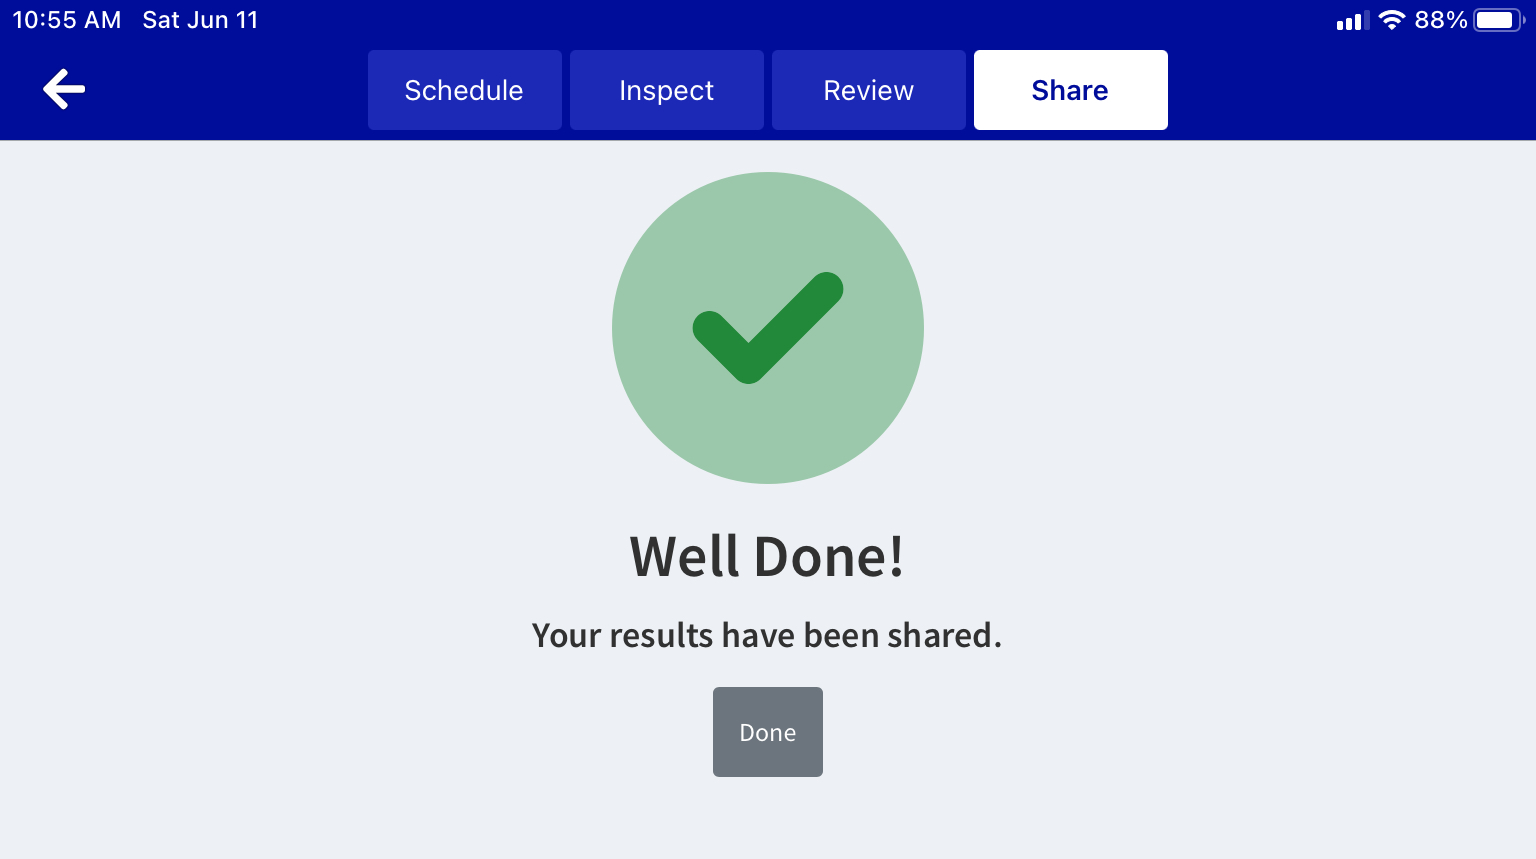
You're all done and ready to move on to your next job.
Congratulations! You Made It!
You have shared your first results with Tap Inspect. Well done! We hope you have a better feel for how Tap Inspect works and how it can help streamline your inspections. Your journey does not need to stop here.
- Take some time to browse our help center for more in depth articles as well as step by step tutorials.
- Enroll in Tap Inspect Academy to earn free reports or subscripton credits for completin guided deep dives into Getting the Best Support, Mastering the Basics of Tap Inspect and more.
- Join the Tap Inspect Facebook group to connect with other Tap Inspections.
- Reach out to our support team at info@tapinspect.com with any questions.
We are here to help and guide you to success.
Comments
0 comments
Please sign in to leave a comment.