Your Tap Inspect reports are displayed as interactive web pages that are opened from the Client Portal. Tap on any report tile in the client portal to open that report.
Tap Inspect reports are designed to look great when viewed on a phone, tablet, or a computer. Your clients, their agents, or other people you have shared the results with can easily pull up and refer to the report from any device they are using.
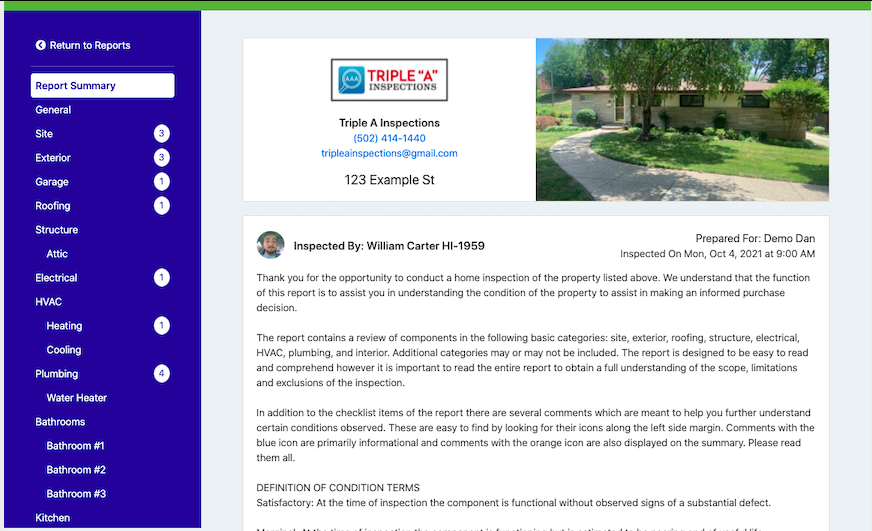
Your Tap Inspect Company Profile, User Profile, and Client Portal settings are used to control the layout and the appearance of your web reports. Be sure to complete these settings so they reflect your identity and your branding.
Report Navigation
Moving through the report is done by scrolling the report content or by using the navigation menu to quickly jump back and forth between sections.
On larger screens the navigation menu is displayed on the left side of the screen. On a smaller screen, like a phone, it’s opened by tapping the menu button in the top right corner.

The navigation menu provides quick access to any section of the report and the report summary with a quick tap. The options to Download or Print a PDF version of the report is available in the navigation menu.
Report Content
The content of the report is displayed in a few distinct parts areas.
Branding and Job Information
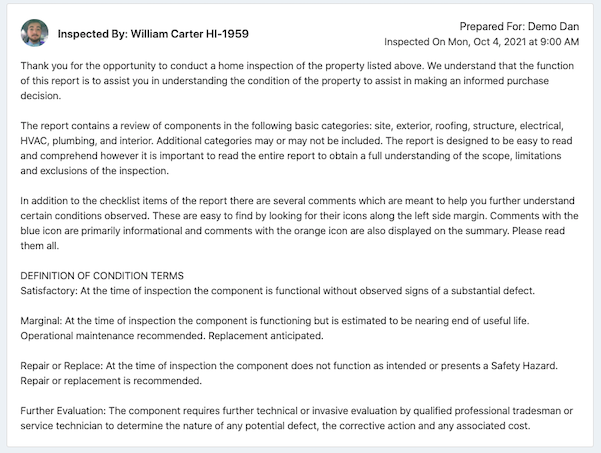
The first content the reader will see is your branding information from your Tap Inspect Company Profile and User Profile along with information about this job and this report.

Report Header
The Report Header is an optional section of your Tap Inspect report. It is often used to provide context or general information about the report or the inspection process. Learn more about Tap Inspect templates to get a better understanding of how this works.
Report Summary
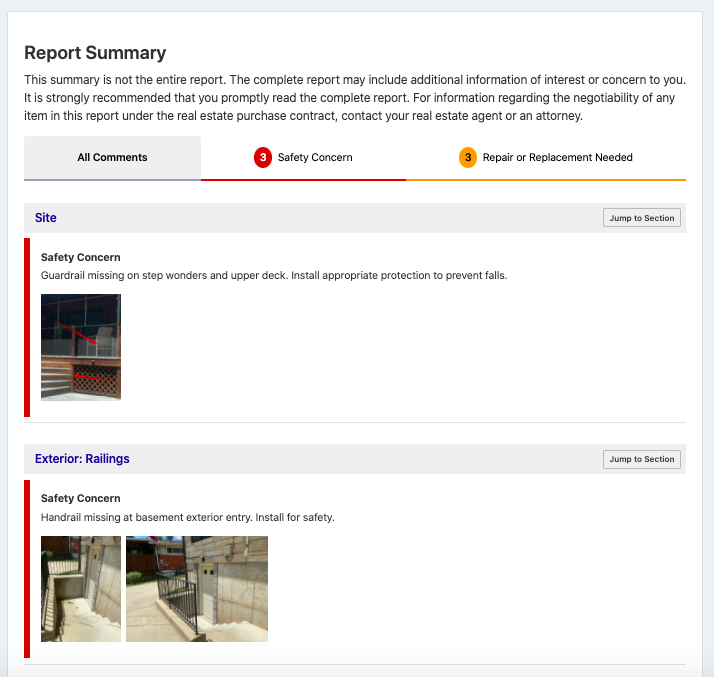
The report summary is a special report section that is automatically generated for you based on the comments you have added to the report.
Your web reports allow the reader to filter the report summary display based on the type of comment or to view all comments of the report summary. Tapping on any tab filters the report summary display to only show those comments. Learn more about comment types to get a better understanding of how this works.
Report Body
Below the report summary is the body of the report. Each section of your report is displayed in the same order you see in the mobile app. Within each section is the list of items you inspected and any comments that were added to that area.
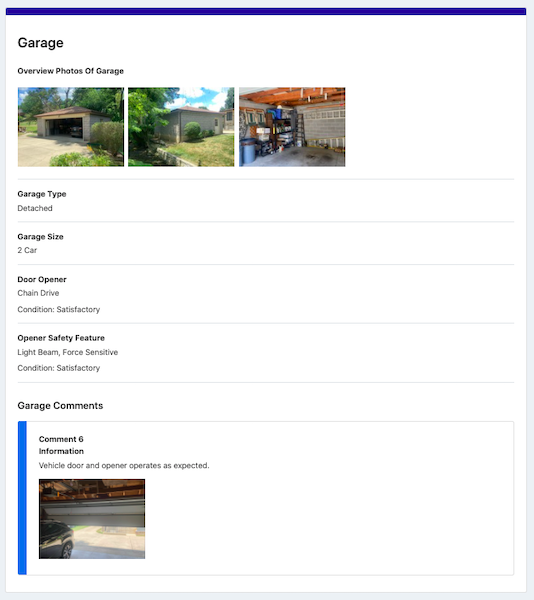
You can scroll through the entire report body to view and read the entire report.
Report Photos
The photos of your report are displayed in several different places but are all interacted with in the same way. It does not matter if the photo is in the report summary, a comment or in a photo item.
Photos are displayed as thumbnails in the web report. When a collection of photos has more than can be displayed in a row an indication is displayed letting the reader know there are more photos in the collection.
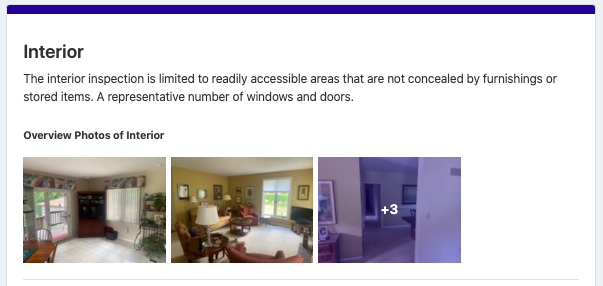
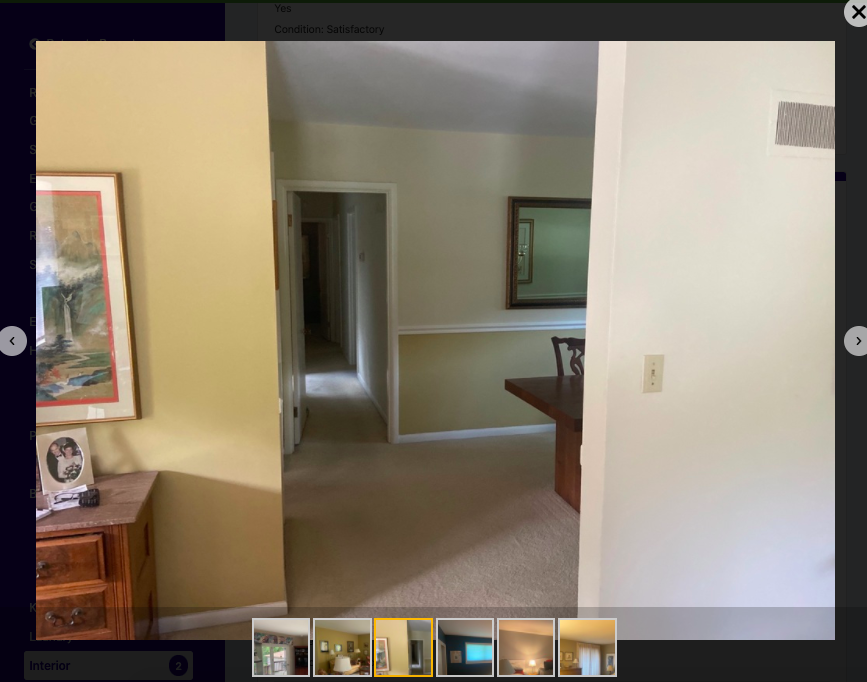
Tapping on any photo opens the collection of photos it belongs with and the tapped photo full screen. Swiping or tapping the arrow allows you to browse the collection and view other photos. Photos can also be zoomed further than full screen by pinching just like any image on your devices.
Report & Report Summary PDF
Many times there is a need by the reader to print or save a copy of your reports offline. Your web reports have the ability to generate a PDF version to make that possible. In addition, only the report summary can be printed or saved by readers that only want that level of detail.
Two buttons are displayed that each open a menu to print or download the full report or just the report summary as a pdf.
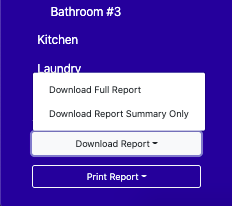
Tapping on either download option will generate the PDF and display it in another tab or automatically download the PDF depending on the readers web browser settings. The print options will also generate a PDF and then open the print dialog for the readers browser.
Comments
0 comments
Please sign in to leave a comment.